Remote Access
First, if you're offsite, you must have an active VPN connect to talk to any ECE computer. https://vpn.ncsu.edu. Please see https://go.ncsu.edu/remote if you need a walkthrough on using the VPN client.
Second, you have two options to access an ECE Linux computer -- ssh or FastX. Remember to use the full name of your computer -- computername.ece.ncsu.edu
For ssh, I recommend that you install this free client on your windows computer: https://mobaxterm.mobatek.net/download.html. The campus HPC also provides information and instructions for this client: https://projects.ncsu.edu/hpc/Documents/mobaxterm.php
If you’re using a personal MacOS machine, then you can use the built in “terminal” application to ssh to another machine. But if you want to X terminal back to your local machine, however, you will need to have XQuartz installed. You can download this from https://www.xquartz.org/. Start the application and right click on the icon in the dock, selecting Applications>Terminal. This should bring up a new xterm window. From here, ssh into the remote linux system using the -X argument (secure X11 forwarding). For example:
ssh -X unityID@grendel.ece.ncsu.edu
Both Windows and MacOS users can alternatively can use FastX -- see below for the client download and setup (or install from Software Center if you’re on an ECE Windows computer or Self Service if you’re on an ECE MacOS system). The usage of FastX is encouraged when accessing our servers from offsite when a GUI application is used -- the protocol used by FastX is superior to ssh over WAN networks and will result in a faster remote experience.
Details on the setup and usage of ssh can be found on https://go.ncsu.edu/remote
If you need to transfer files, we recommend Filezilla (Win/Mac), Cyberduck (Mac) or WinSCP (Win) as a client. SFTP must be used instead of FTP and we recommend just connecting to remote.eos.ncsu.edu if all you want to do is transfer files in and out of your AFS space.
FastX
Starnet FastX 3 is an alternative to the X-Win32 software and is WolfTech's current recommendation for remote connections to ECE department Linux servers.
NOTE: Images on this page were taken from the macOS version of the software. The appearance may differ on other OSs, but functionality should remain the same.
Download and Install
If you are on an ECE department Windows or Apple machine, you can find an installer for FastX 3 in the Software Center or SelfService applications on those OSs.
For Linux machines or personal machines, download the installers from the links below:
- Windows: Download here
- Linux 64-bit Download here
- Macintosh: Download here
Download and Install v2 clients
We're in the process of slowly upgrading our systems from FastX v2 to v3 -- if you're specifically directed to use the v2 client, you can download them here:
- Windows: Download here
- Linux 64-bit Download here
- Macintosh: Download here
Please note that you cannot use the v3 client with a v2 server (and vice versa) so only install these if instructed.
Connect to a Server
- Contact ecehelp@ncsu.edu if you do not know what server to use.
- You must have an active VPN connection to campus before you can talk to any ECE computer.
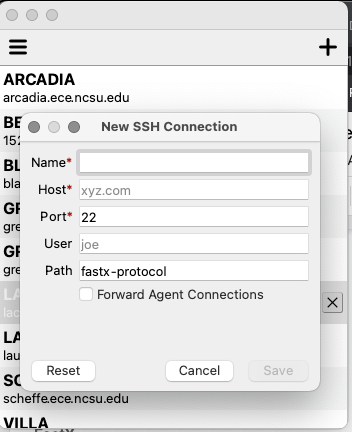
- See the image below for how to create a connection to a server.
- Open FastX3 on your local machine
- For new machines
- Click the plus icon in the top right corner
- Fill out the information in the dialog box that opens up
- Make sure that you’re entering the full name of the computer -- aka, computername.ece.ncsu.edu
- Keep “Forward Agent Connections” unchecked.
- Click Save when finished
- Double click the machine you’d like to open
- Type in your password
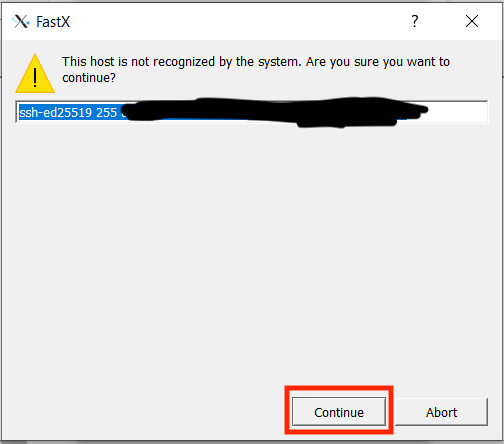
- If it's your first time connecting, you may need to accept machine authentication
Open a xterm session
- NOTE: WolfTech recommends only using xterm sessions. You may use the GNOME session if you wish, but be aware you may experience lag or other issues, especially if you are connecting from off-campus. Some shared servers -- including HYDRA and GRENDEL -- will not provide the option for GNOME.
- See the image below for how to open an xterm session.

- Click the plus icon to bring up the session select menu
- Choose “xterm” and click OK.
- After the xterm launches, use as normal.
- When finished, use 'exit' to close the xterm.
- Close the connection window to end your connection to the server.
High DPI Settings
For those with High DPI displays, below is a set of instructions that can be used to increase visibility when using FastX on Windows:
- Navigate to the installation directory
- C:\Program Files (x86)\StarNet Communications\FastX 3
- Right click on FastX
- Click Properties
- Click Compatibility
- Click Change high DPI settings
- Make sure that the checkbox is unmarked for Program DPI "use this setting to fix scaling problems..."
- Make sure the checkbox is marked for "High DPI scaling override" and set the scaling performed by: "System"

It should now scale with your windows display settings for "Scale and layout" -- go to Settings, System, Display, and here you can select to increase the size of text and apps. In the example below, you’ll see where these have been increased to 150%.
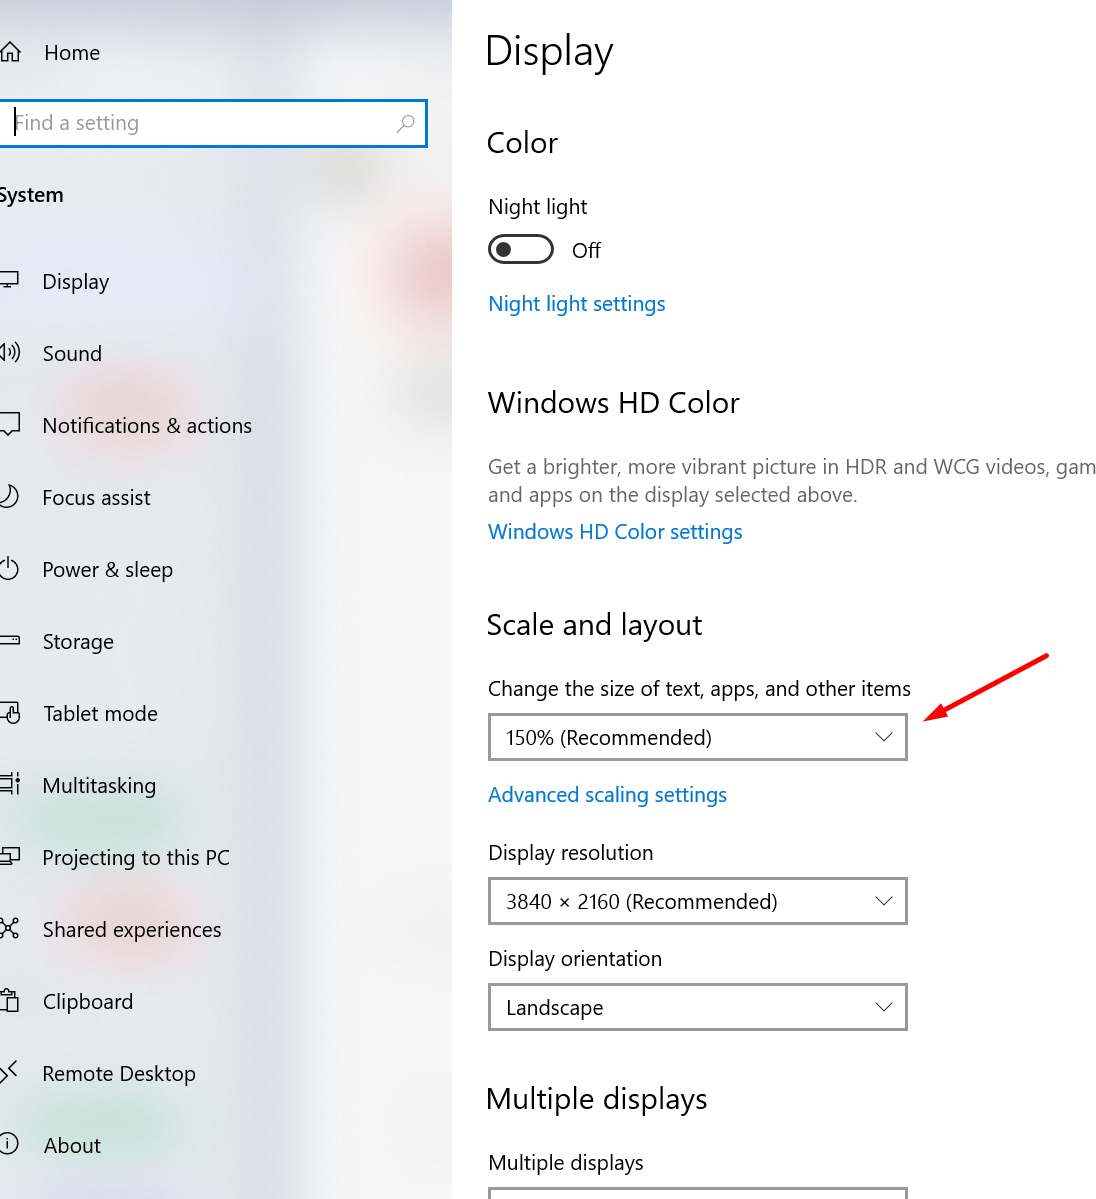
Using this method may result in the text or icons being displayed a bit fuzzy. You should experiment to see what scale works best for you.
Gnome Classic Mode
If connecting to a system via Gnome is permitted, you might want to make use of the classic mode of the Gnome interface. If so, when selecting the pre-defined option for "gnome-session" change it to "gnome-shell --mode=classic" instead.